How-To: Bind Your Own Colourful Autumn Wreath from Garden, Meadow and Woodland
Seasons and Traditions

As the gardening year draws to a close, the season of abundance, of colour and of creativity begins. A hand-tied autumn wreath is more than just decoration: it is a tribute to nature, a meditative craft and a lovely way of expressing gratitude for the harvest season. Whether as a door wreath, a table centrepiece or a gift, with a little patience and love you can conjure up a one-of-a-kind piece for yourself.
And the best part? You need neither expensive craft supplies nor any previous experience. Everything you need may already be in your garden, on a walk or at the farmers' market.
Contents
- 1. Materials: What You Need
- 2. Preparation: Gathering, Drying, Sorting
- 3. Step-by-Step Guide to Binding a Wreath
- Practical Tips for Binding Wreaths
- 4. Variations & Ideas
- 5. Storage & Shelf Life
- Why We Love Wreaths, and Why You Will Too
- Show Us Your Autumn Magic!
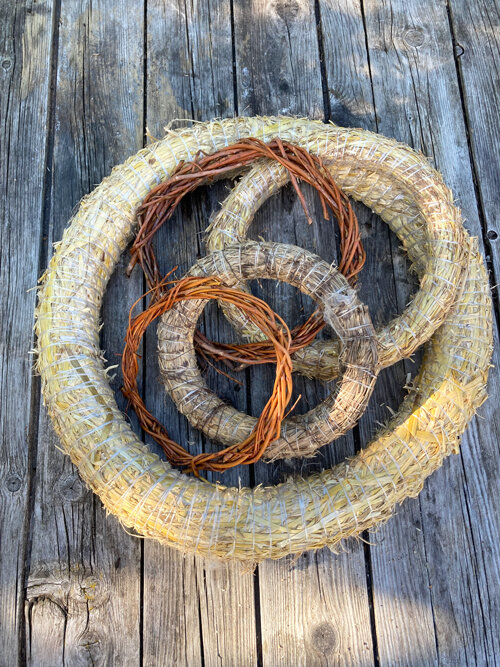
1. Materials: What You Need
Base frame:
- Wreath base made of straw, willow, hazel, dogwood or metal (Ø 25-35 cm)
- Alternatively: rings you have bound yourself from flexible twigs (see tips)
- Binding wire, florist's wire or natural twine
Creative filling:
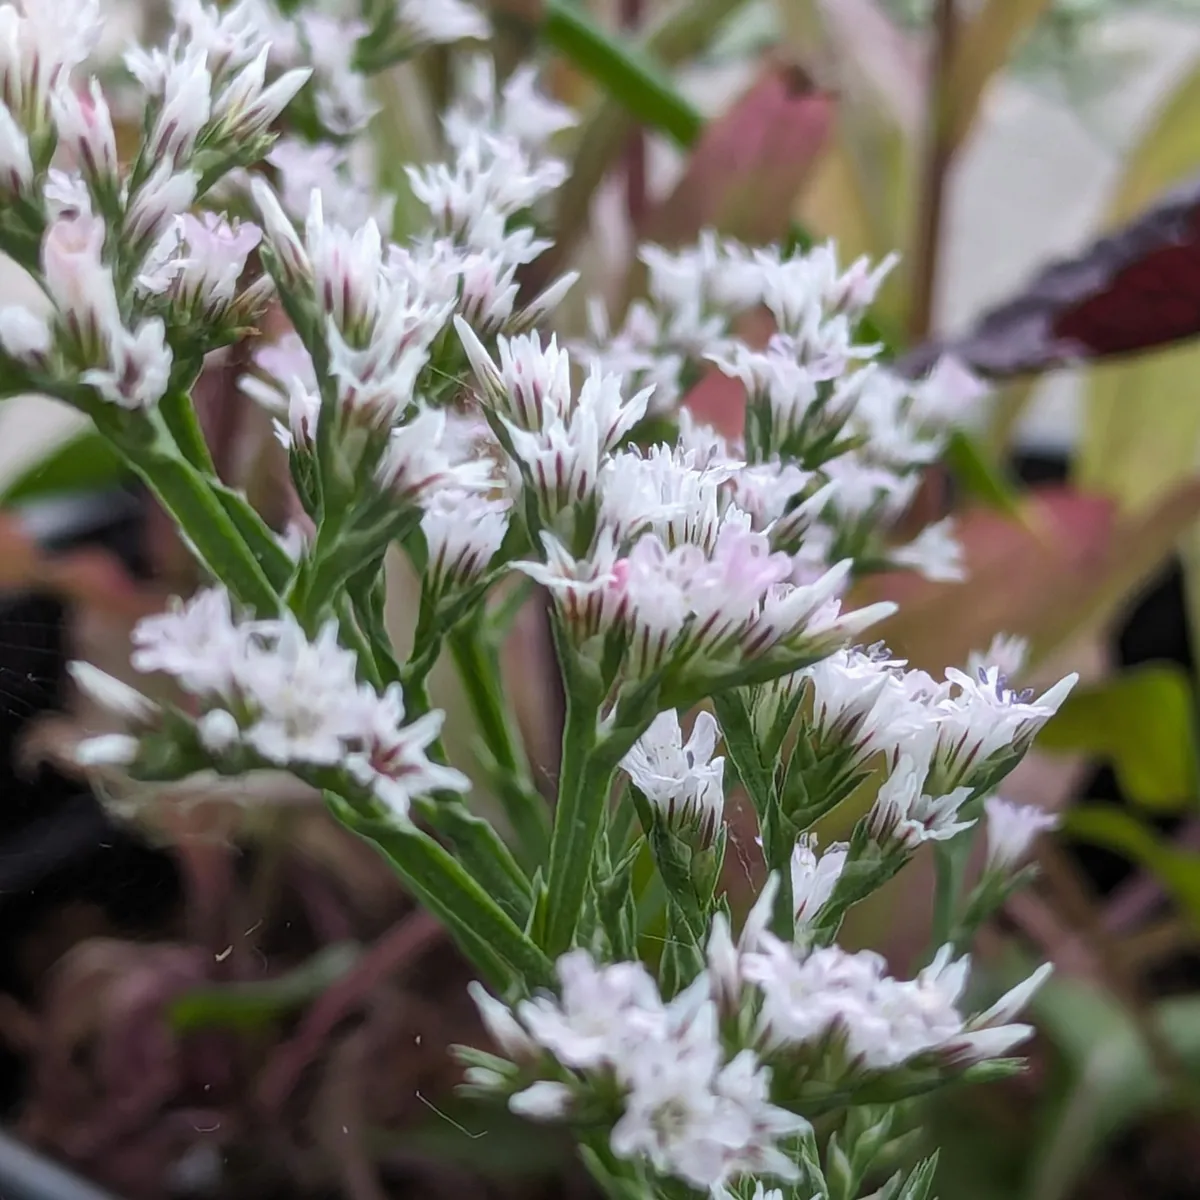
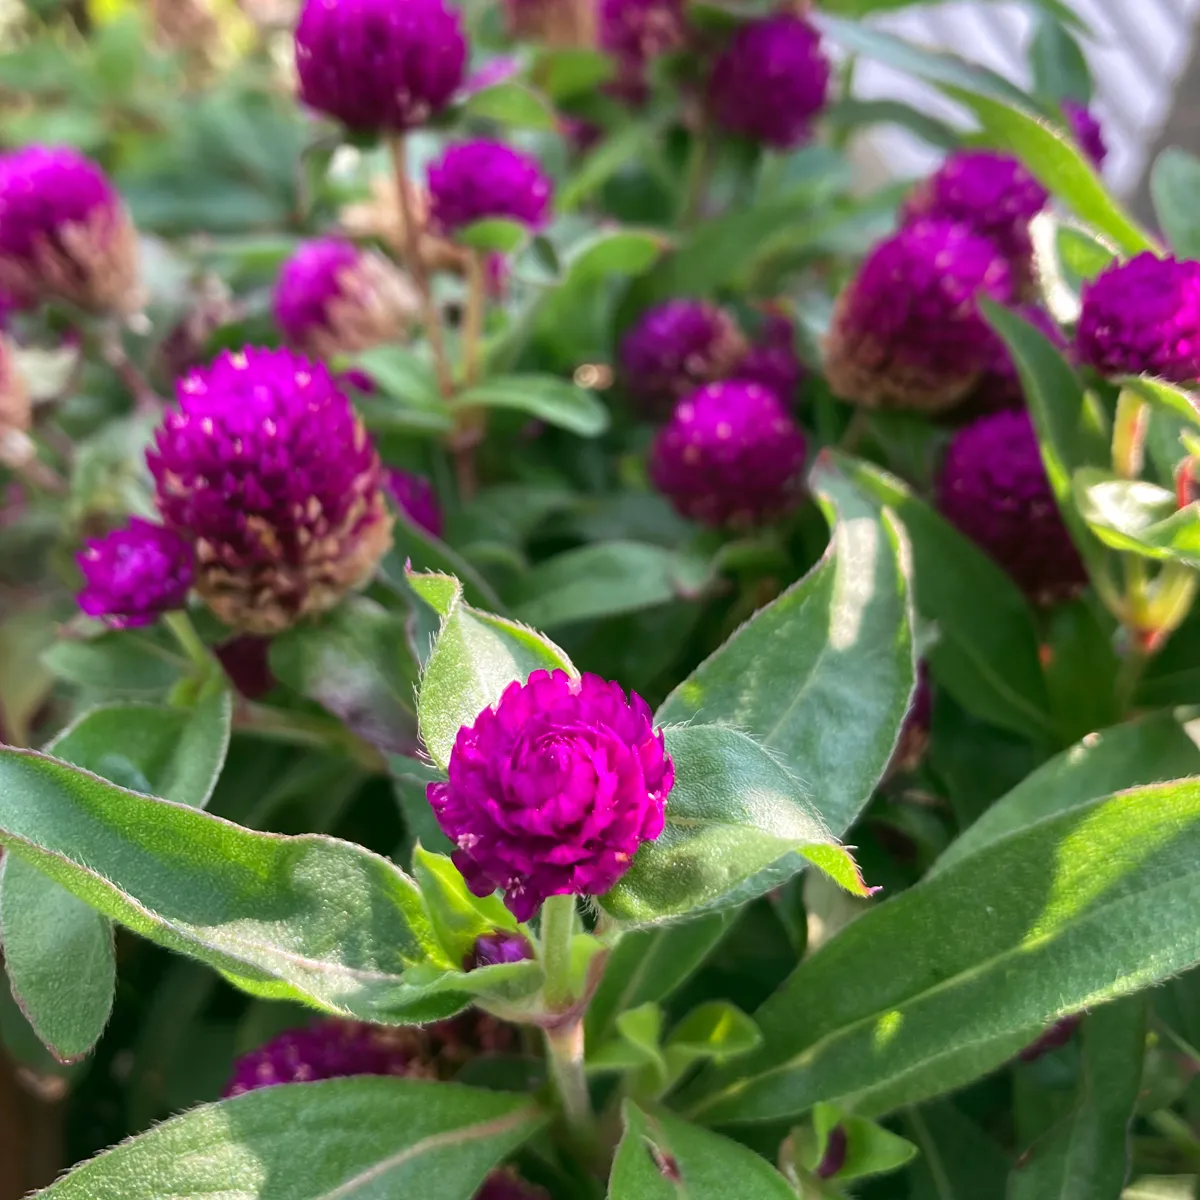
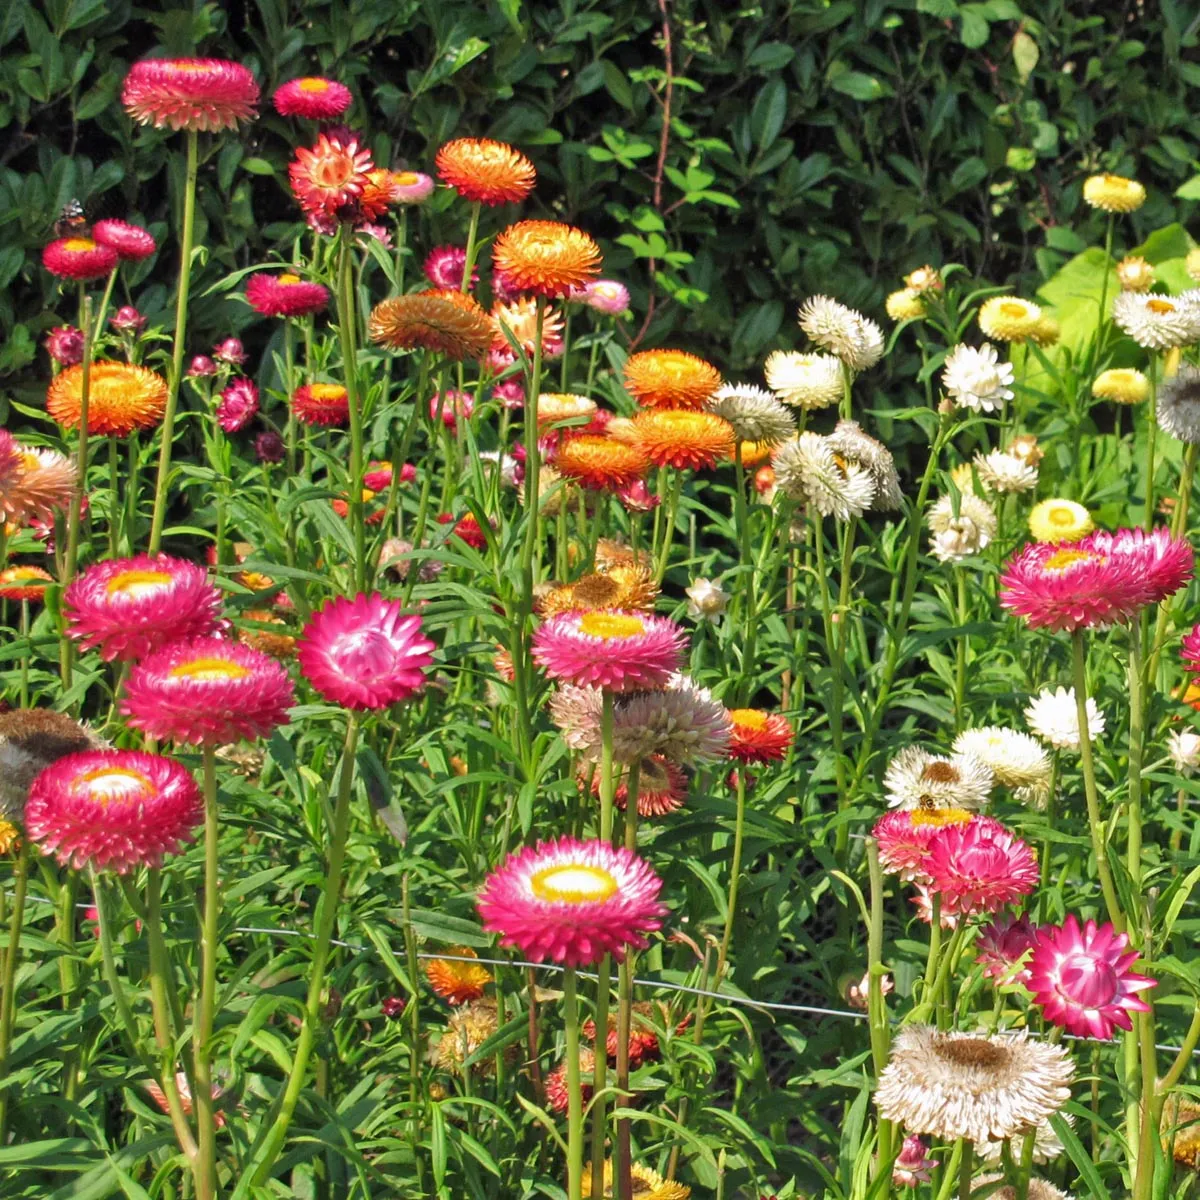
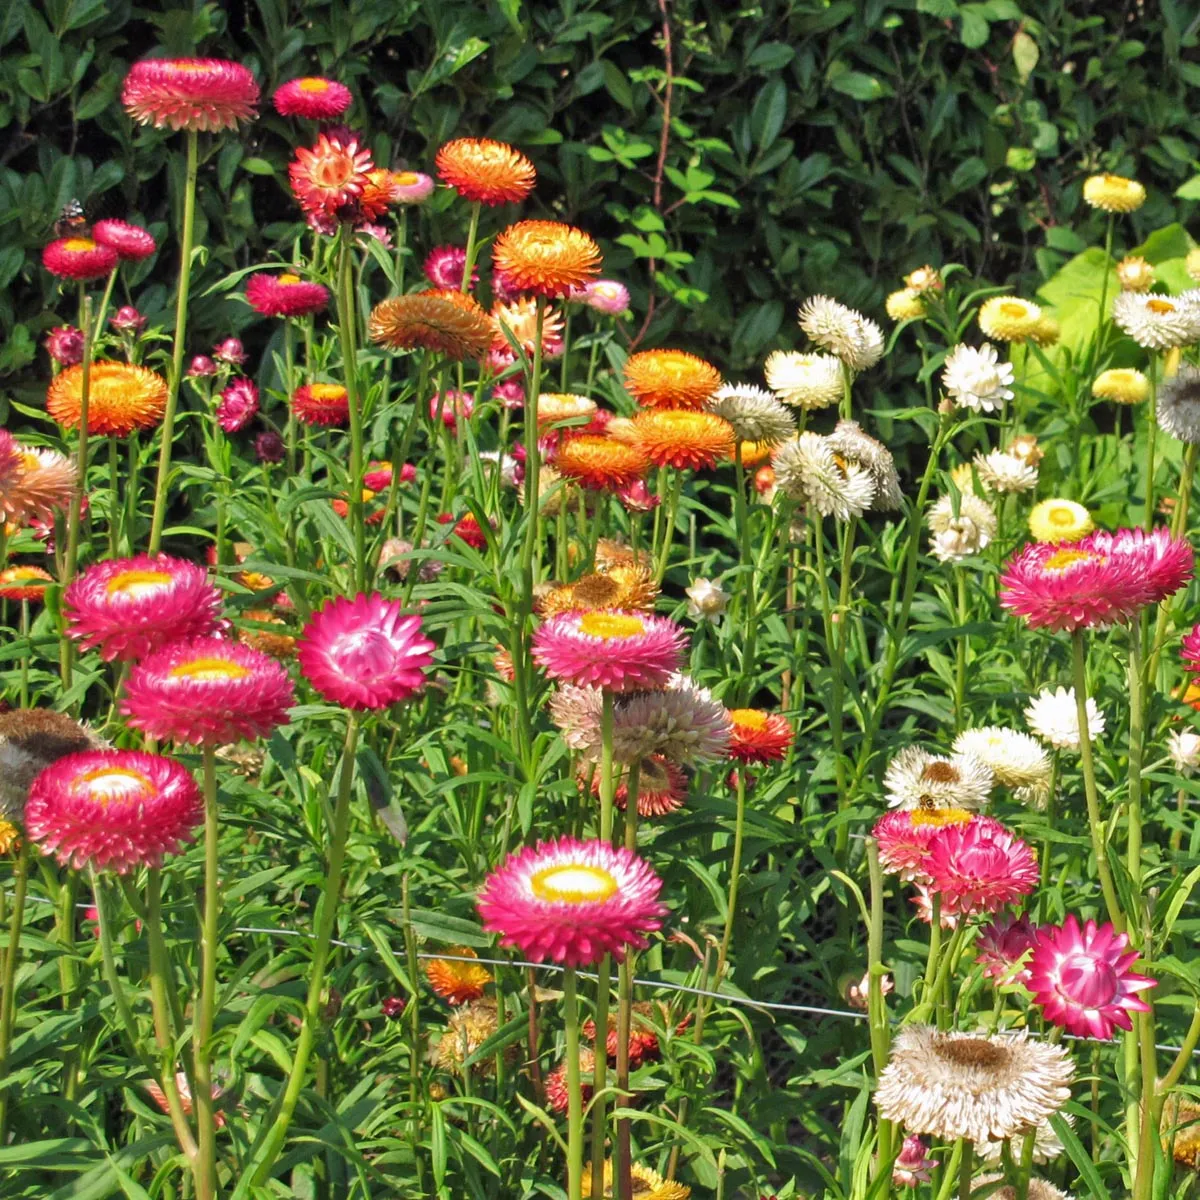
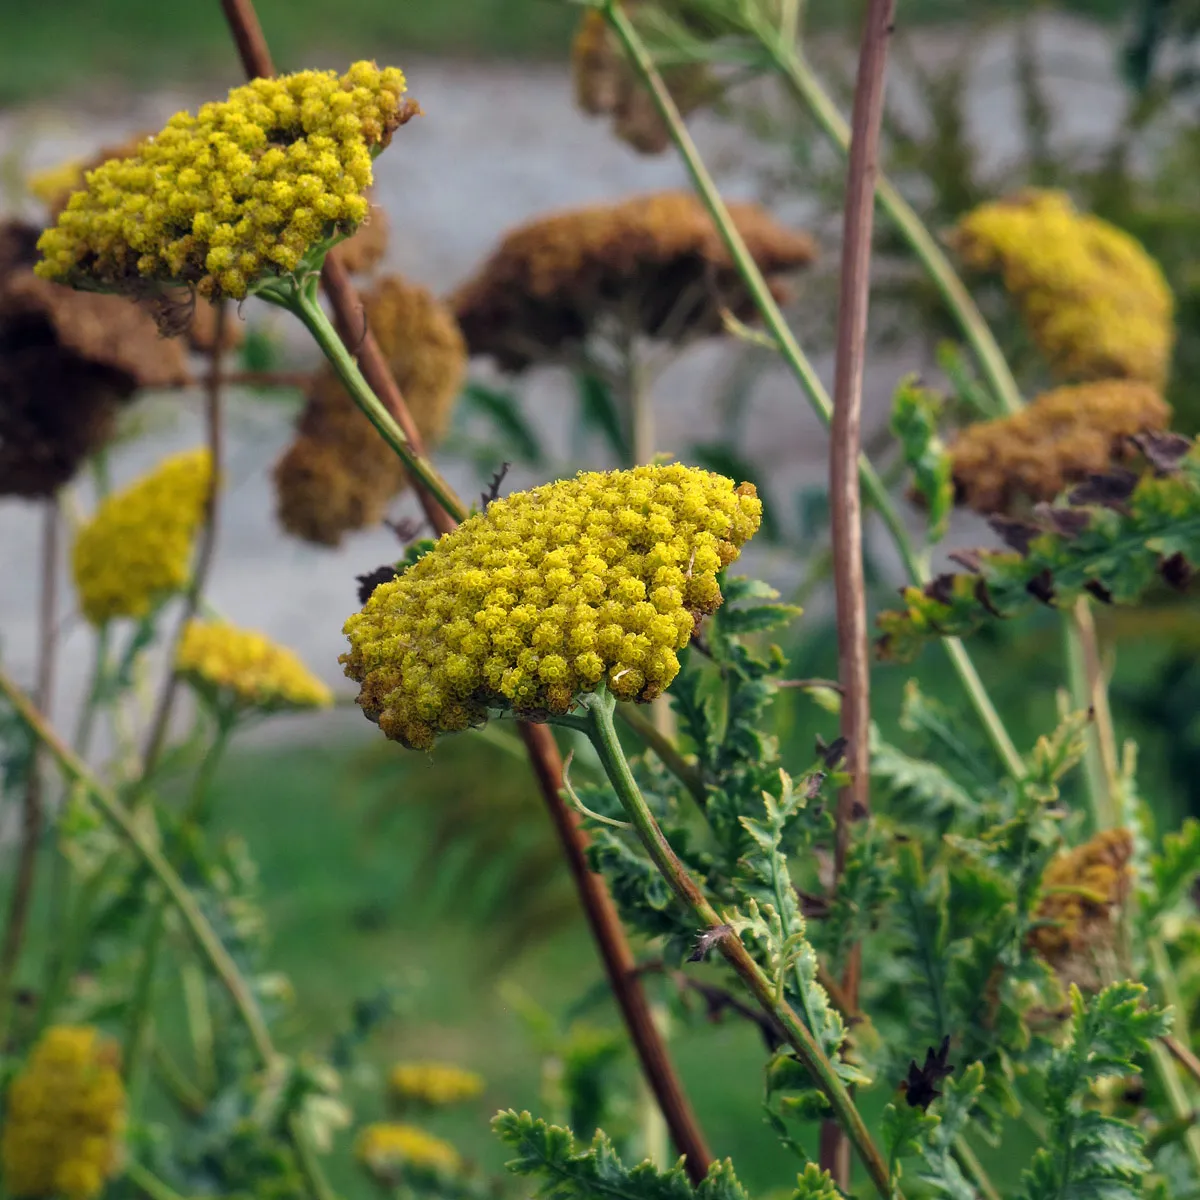
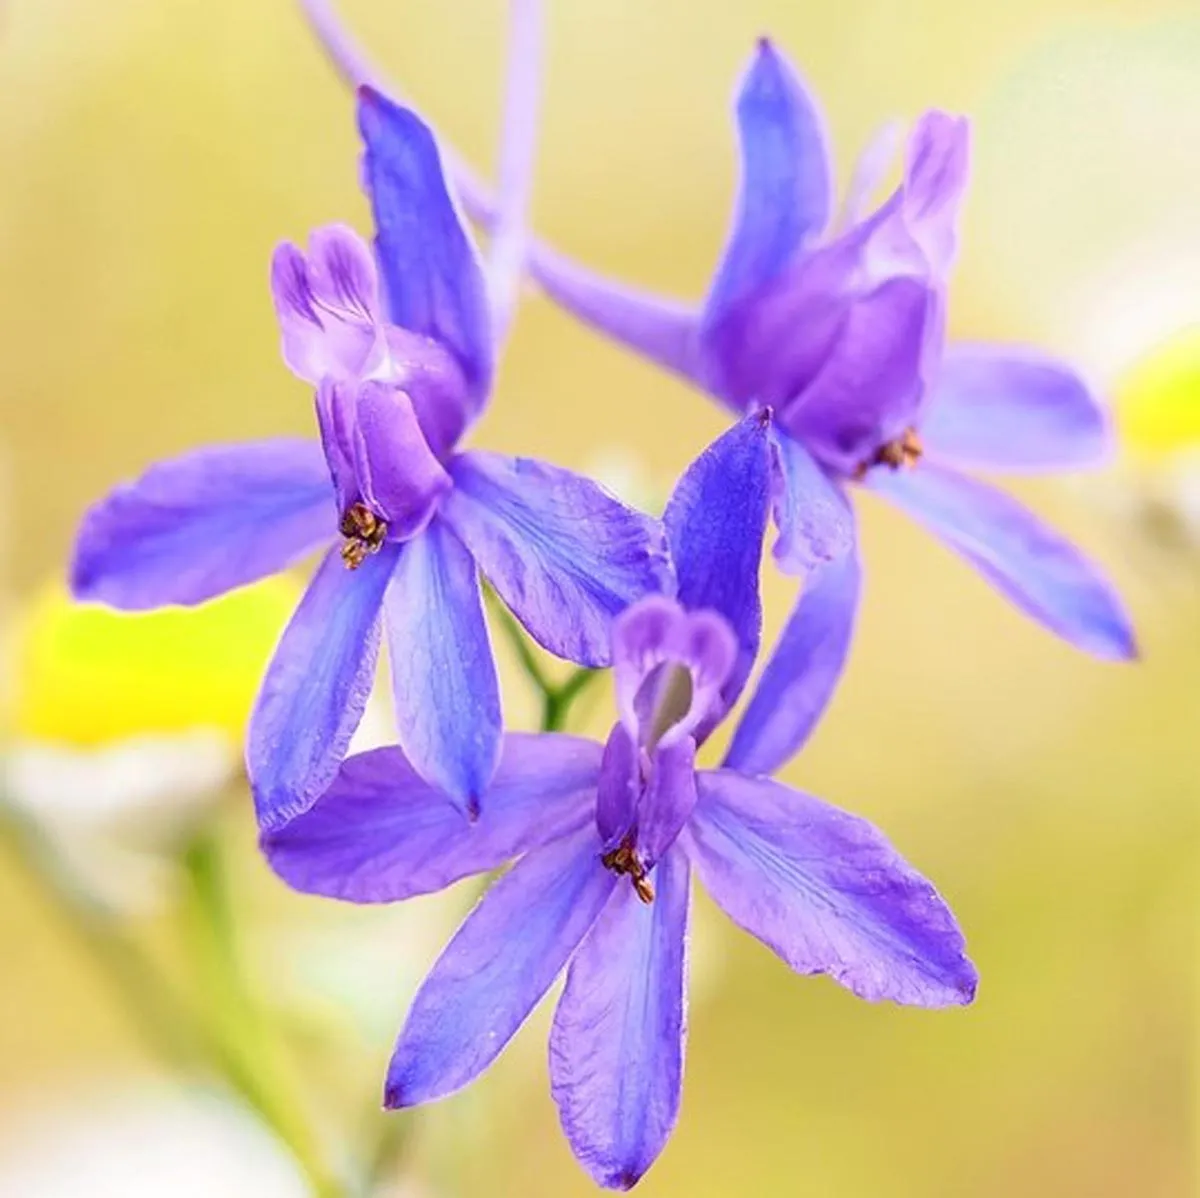
- Dried flowers (e.g. pot marigold, coneflower, strawflower)
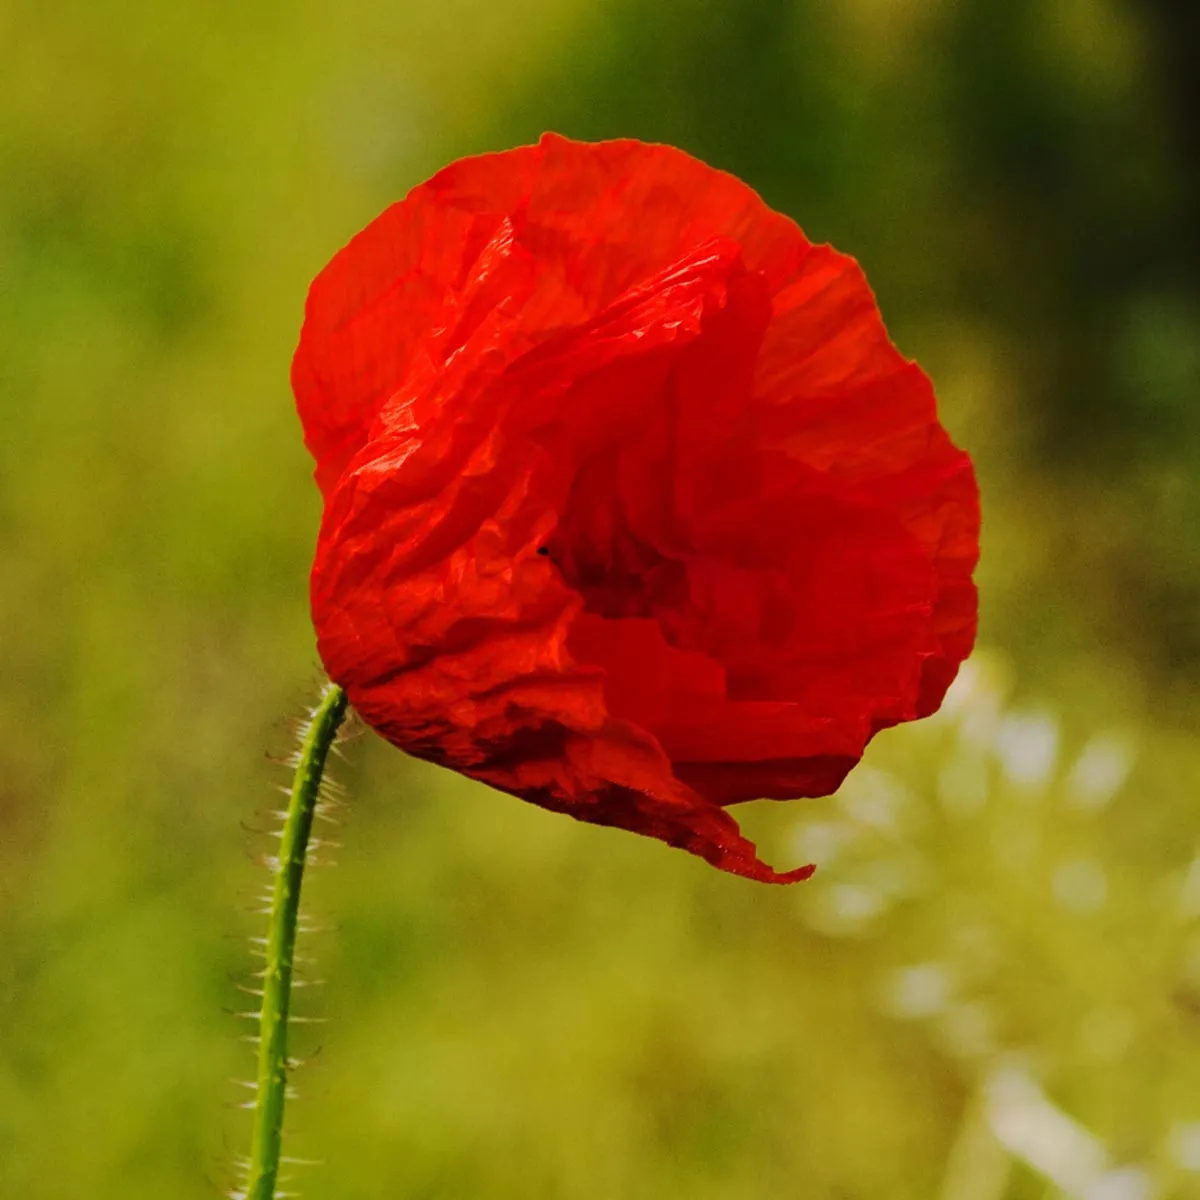
- Seed heads (e.g. poppy, dill, fennel, amaranth)
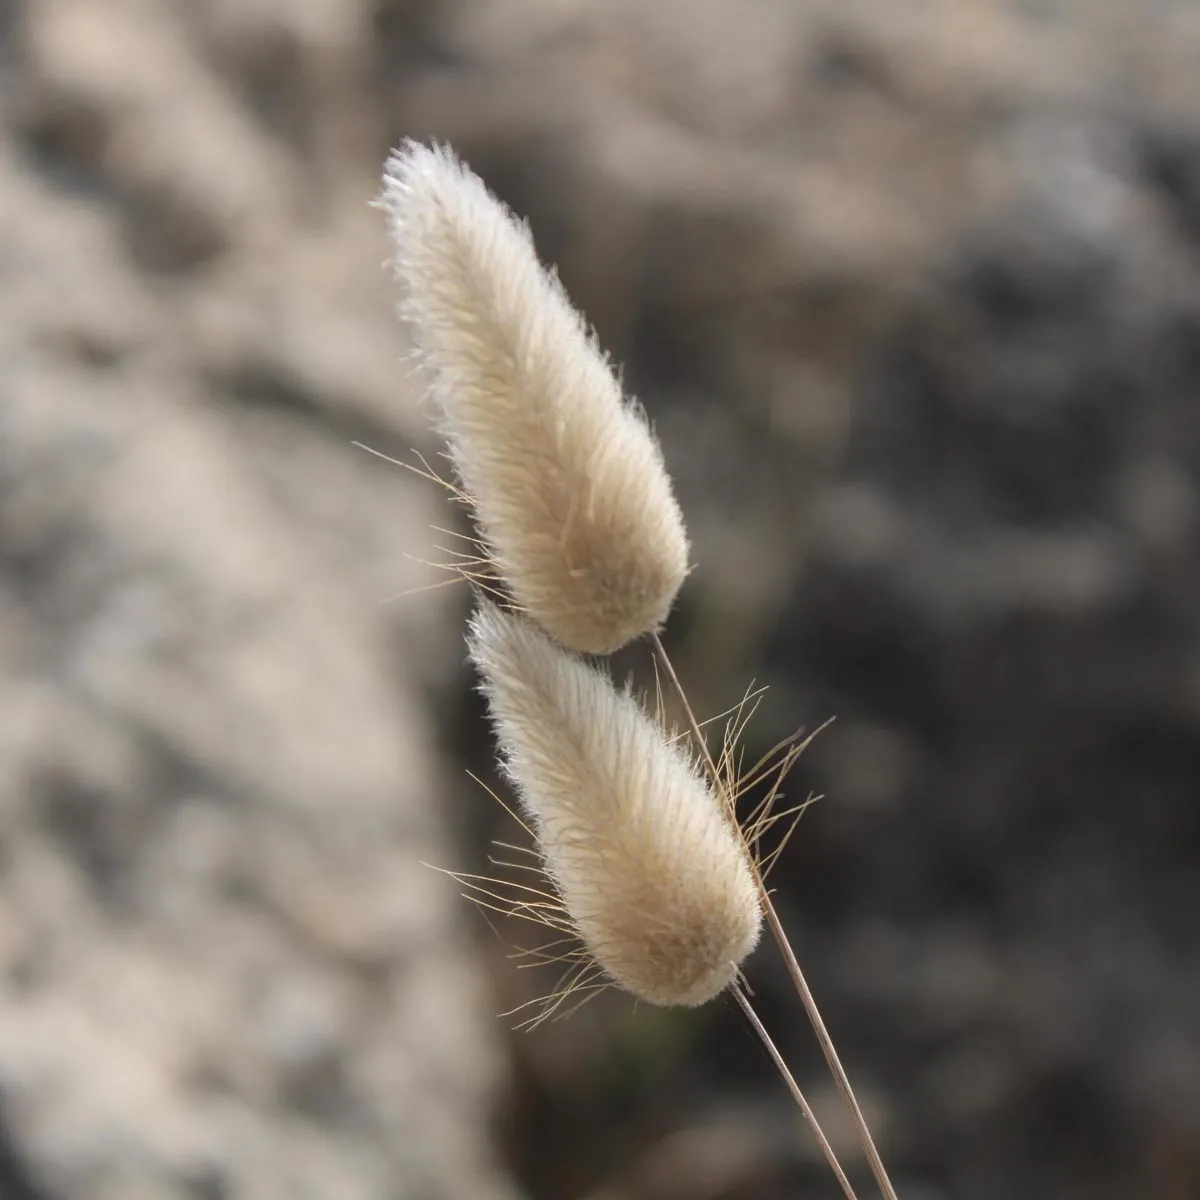
- Grasses (e.g. fountain grass, fescue, millet)
- Autumn leaves in bright colours
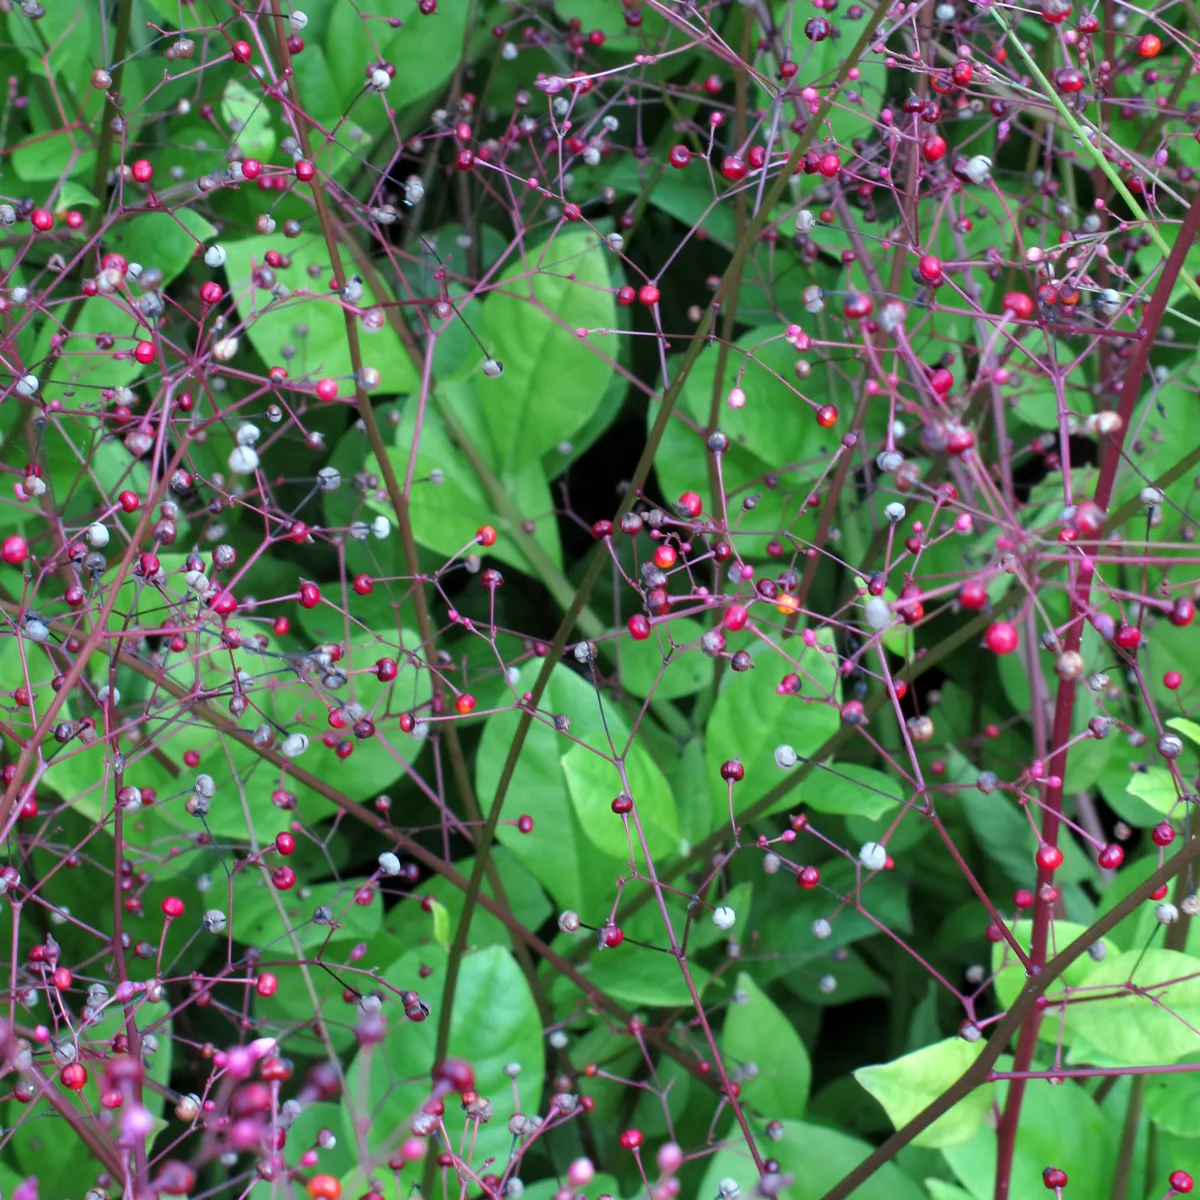
- Twigs with berries (e.g. rosehip, blackthorn, rowan)
- Hop bines, moss, fern, ivy
- Dried fruit such as apple slices or ornamental gourds
- Acorns, chestnuts, walnuts, cinnamon sticks, crab apples
Tip: Many of these materials grow right in your garden or come from sowing our flower and wildflower seed sets.
2. Preparation: Gathering, Drying, Sorting
- Gather in dry weather, as this makes the material last longer.
- Briefly wash the material in water with a splash of vinegar to remove insects.
- Then dry it at room temperature or in the oven at 90 °C for 15-20 minutes (oven door slightly open).
- Cut all the elements to a length of 10-20 cm.
- Sort them by colour, texture or use, which will make the arranging easier for you later.
3. Step-by-Step Guide to Binding a Wreath
Step 1: Create the Base
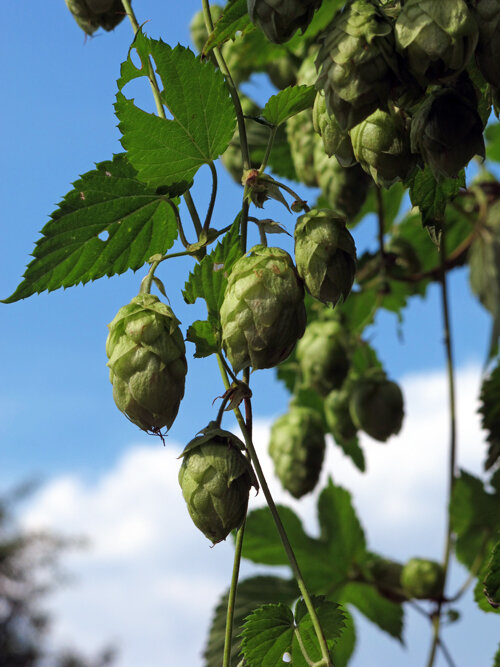
Start with a base of colourful autumn leaves, loosely bound around the wreath base with wire. Alternatively, or in addition, you can also use hop bines or moss.
- Hops give an airy, lively structure
- Moss is perfect as a soft cushion to hold delicate materials in place
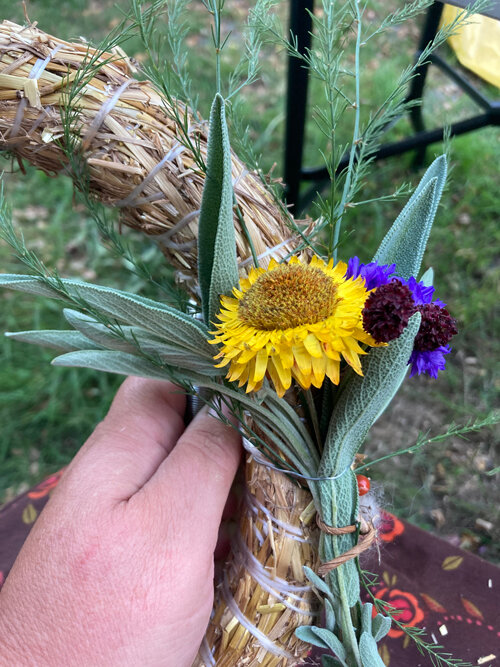
Step 2: Bundle the Material
Make small posies (mini bouquets) from 2-4 elements, e.g. a grass, a flower and a berry. These are much easier to attach than loose individual pieces.
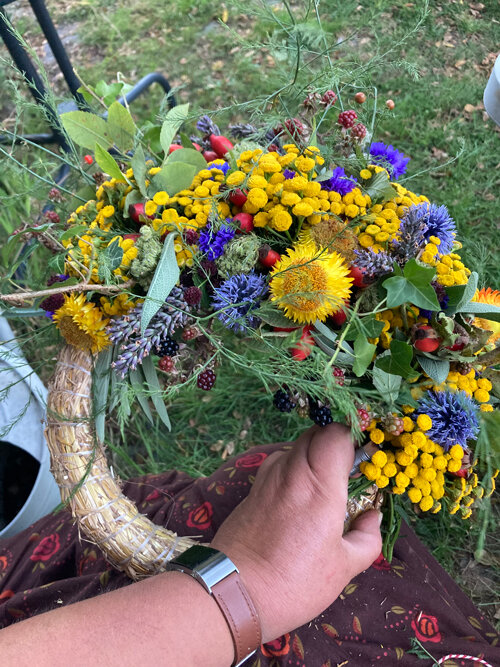
Step 3: Binding
Lay the posies on the base one after another, overlapping and slightly staggered, all the way round. Fix them in place with florist's wire, which you wind continuously around the frame. Always work in the same direction, as this gives an even, round result.
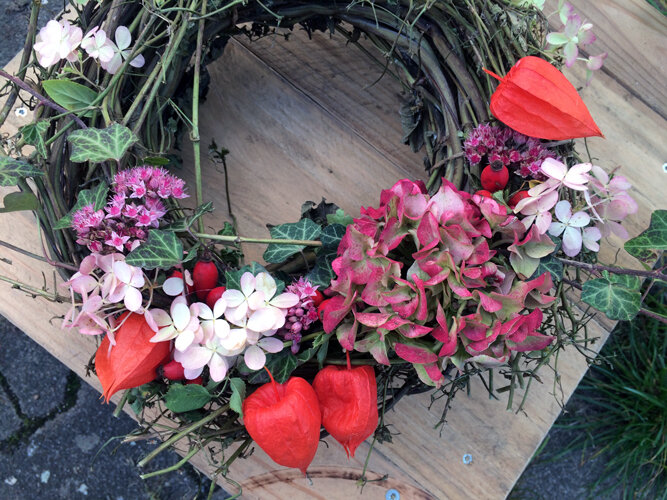
Step 4: Decorating
Now you can add decorative accents with intent:
- Attach mini ornamental gourds or dried orange slices with hot glue or wire
- Work in ribbons, wooden figures or small pendants with wire or ribbon
- Wrap cinnamon sticks or cones in thin wire and slip them into the gaps
Less is often more, so set deliberate highlights for a harmonious look.

Step 5: Hanging
Hide the last posy under the first, which creates a clean transition. Form a loop from wire or use a pretty ribbon for hanging.
Practical Tips for Binding Wreaths
- Preparing the posies in advance makes binding easier, so you work in a more relaxed and organised way.
- Bind fresh and let it dry: many materials such as strawflowers, pot marigolds or grasses dry right on the wreath and keep their beauty.
- Making your own wreath base:
- Use flexible twigs such as bramble stems, willow, hazel or dogwood
- Coil them into a circle in a large bucket or around a plate
- Fix with wire or twine, and your sustainable DIY base is done!
4. Variations & Ideas
- Mini wreaths for the table, the wall or as a gift
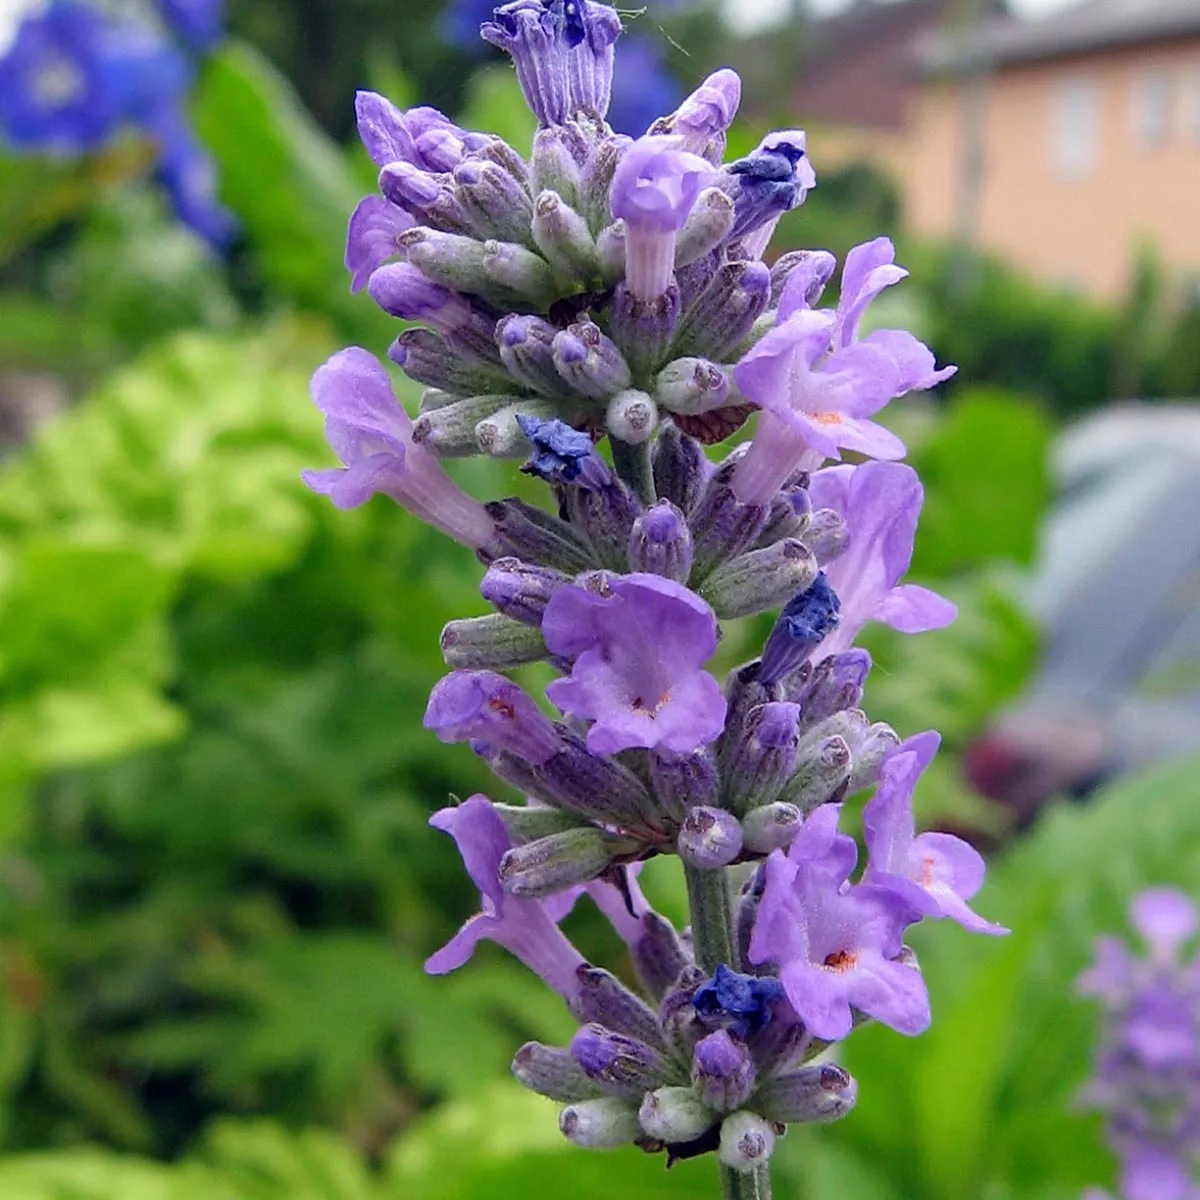
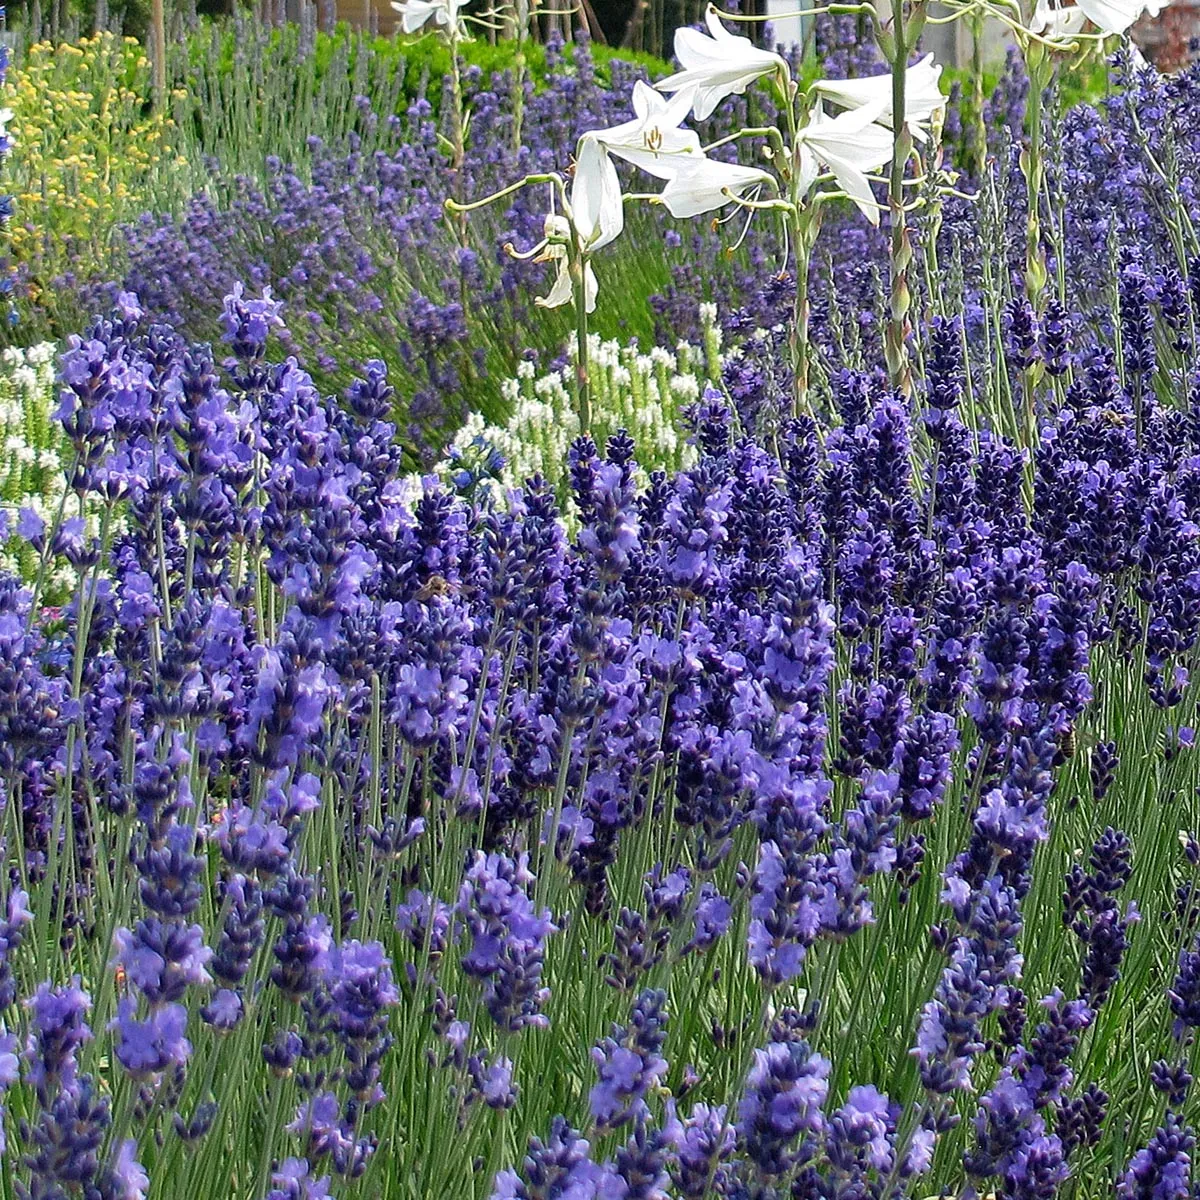
- Fragrant wreaths with lavender, rosemary, sage, orange peel
- Edible herb wreaths made from chilli, garlic, thyme & savory
- Message wreaths with small pendants, seed packets or name tags
5. Storage & Shelf Life
With good care, a hand-tied autumn wreath lasts for many weeks.
- Dry, shady places are ideal, e.g. a sheltered porch, a cool hallway or a covered terrace
- If needed, fix delicate flowers with a little hairspray to make them more stable
Why We Love Wreaths, and Why You Will Too
A wreath is more than just a pretty eye-catcher. It is a symbol, of cycles, of community, of what passes and returns.
When binding, we feel the materials in our hands, breathe in their scents, discover colours, shapes and textures. It slows us down. It connects us with nature, and with ourselves.
A wreath tells a story: of gathering, of pausing, of appreciating. Perhaps it will later hang on the door, welcome guests, mark a transition or simply remind us that there is beauty in passing, too.
And every time we look at it, it reminds us how much joy there is in creating something with our own hands.
For your wreath projects next year, you will find the right dried flowers to sow with us
Seeds for Dried Flowers: Blooms That Preserve the SummerRelated products